(Re)Connect a Remote Head MA/COM 500m to the Radio Body
You will need:
- #2 Phillips Screwdriver
- T-10 Torx Screwdriver
- T-15 Torx Screwdriver
- 7/32" Socket Driver
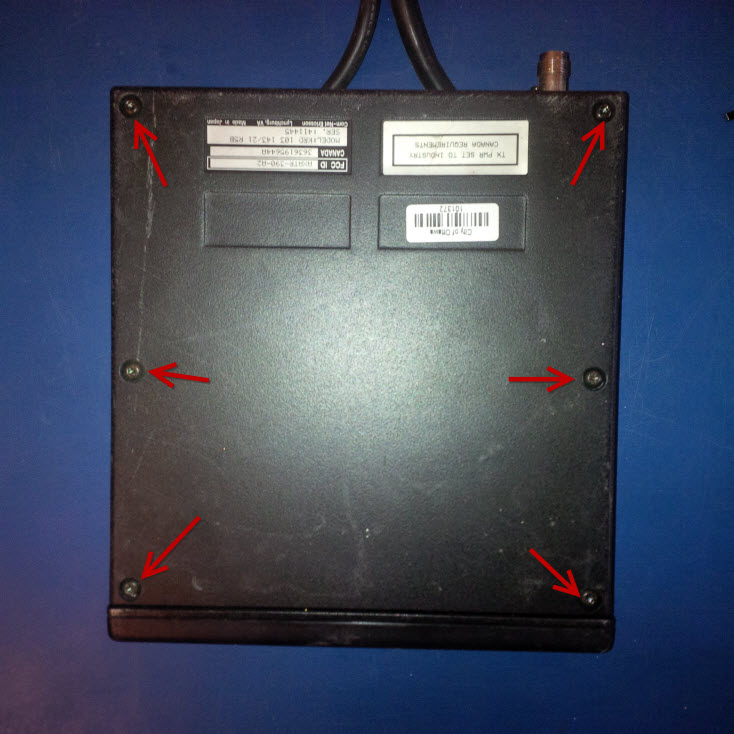
1. Place the radio on a clean, flat surface with the bottom facing up.
Remove the 6 screws (4 screws are long, 2 are short) using the Torx T15 driver.
2. When the screws are removed, lift the cover off.
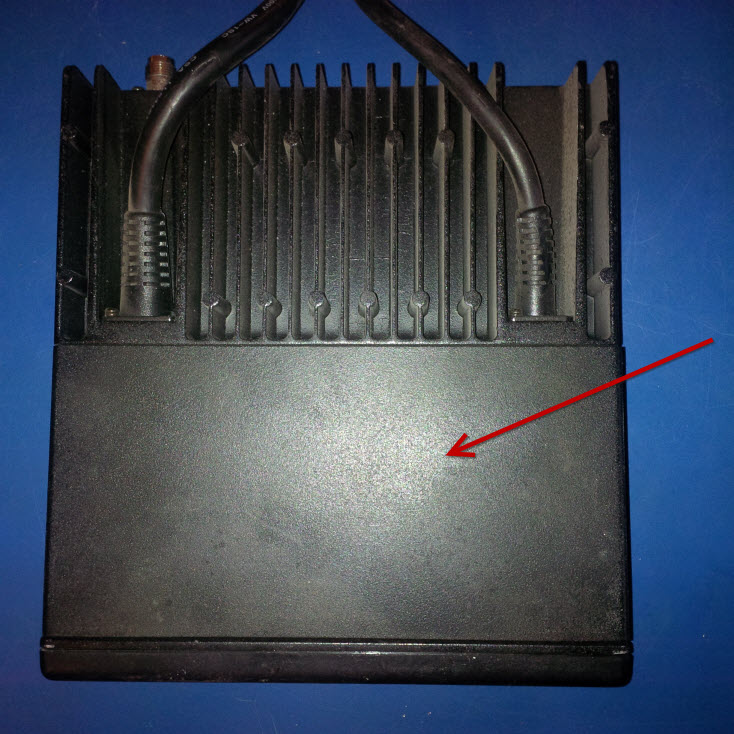
Turn the radio over. The bottom cover should now
easily come off.
3. Remove the RF shield.
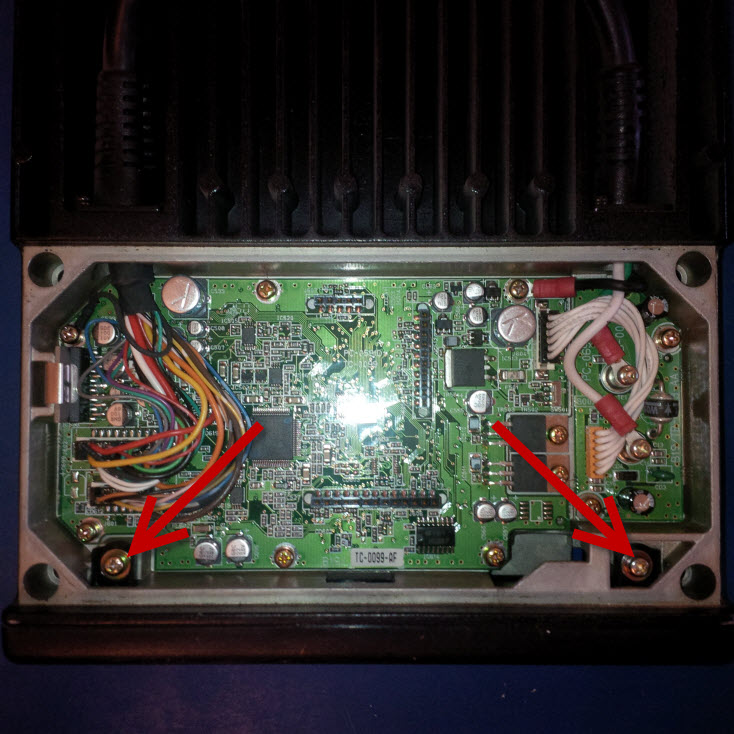
4. Remove the 2 screws with the phillips screw heads that
hold the front cover on.
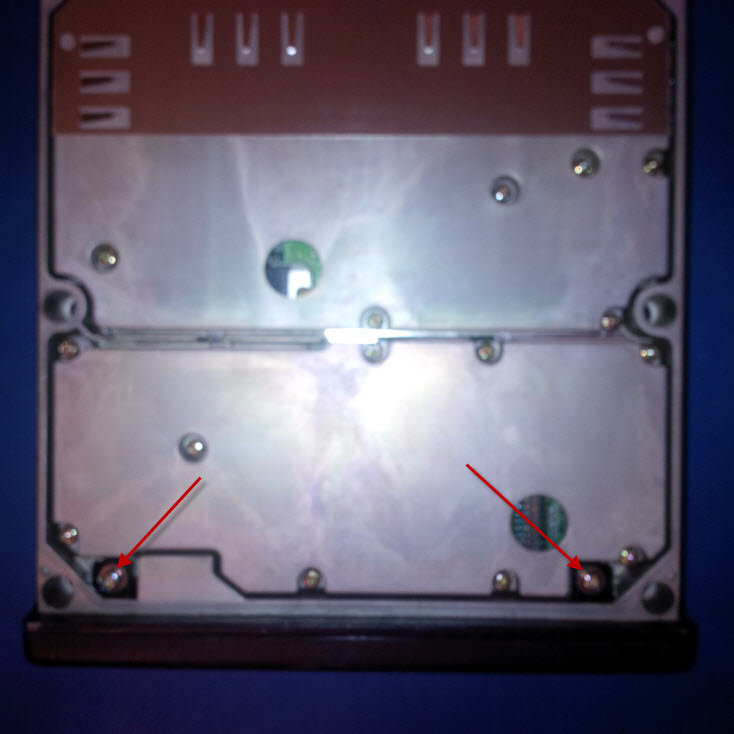
5. Turn the radio over. Remove the 2 remaining screws that
hold the front cover on.
6. Apply a gentle rocking / prying motion to the front cover.
The front cover should come off.
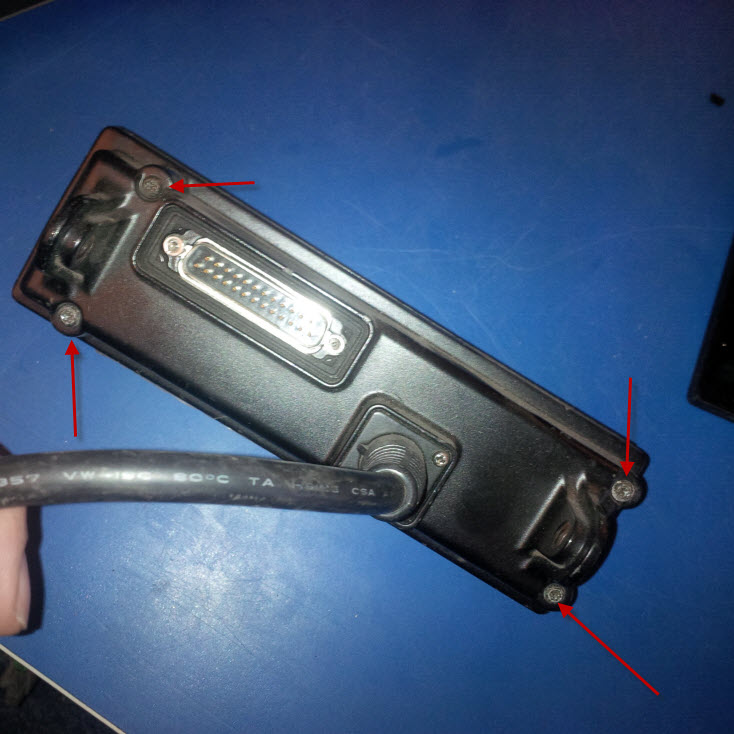
7. Set the radio body aside. Take the radio head, and place
it face down. Remove the 4 screws and remove them using the T-10 Torx driver.
8. Apply a gentle rocking / prying motion to the back of the
head. The remote mount kit should come off. Careful
- there are wires that need to be carefully
removed. Remove the bundle of white wires from the remote
mount kit. These wires need to be re-used.
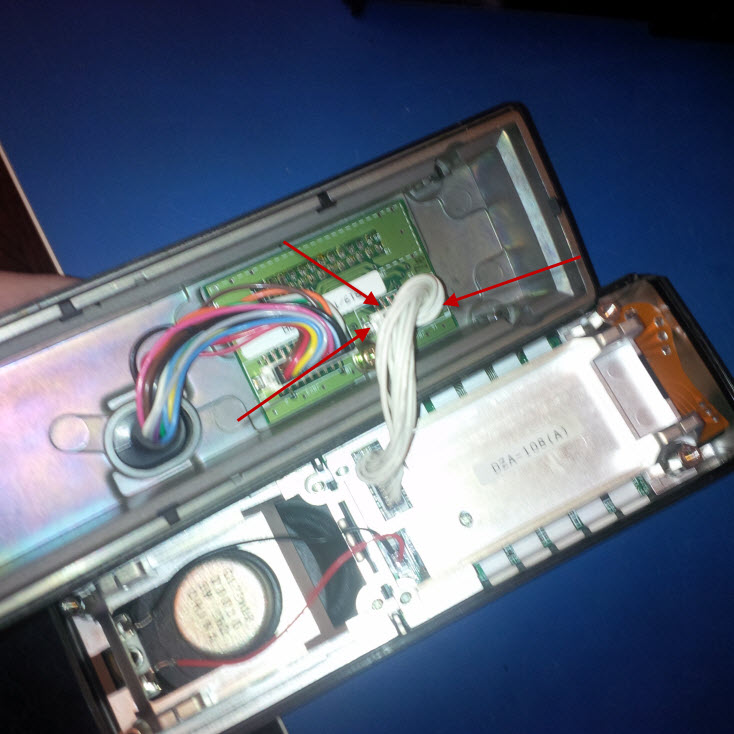
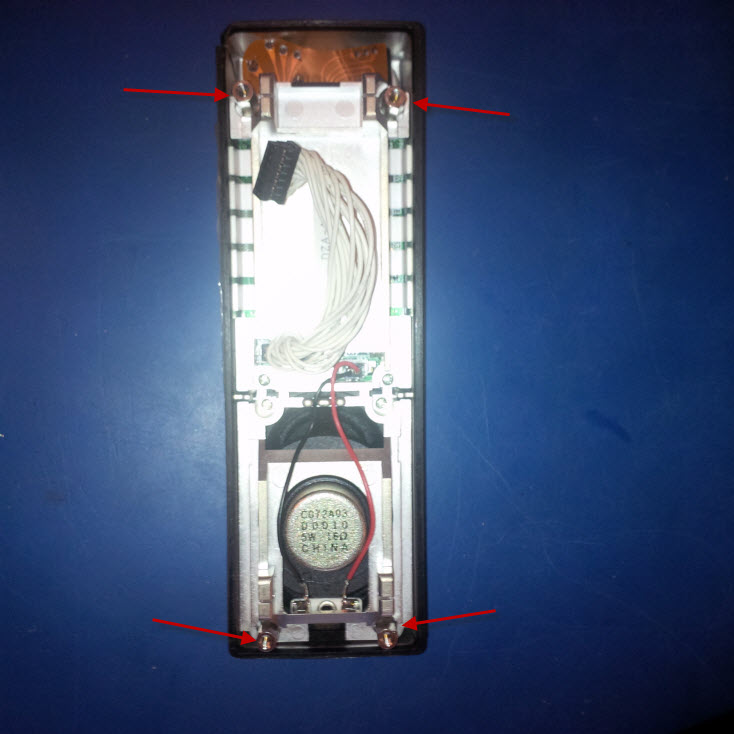
9. Remove the 4 stand-offs from the radio head.
10. Feed the wires from the head through the hole in the radio body.
Replace the phillip head screws to hold the head to the body.
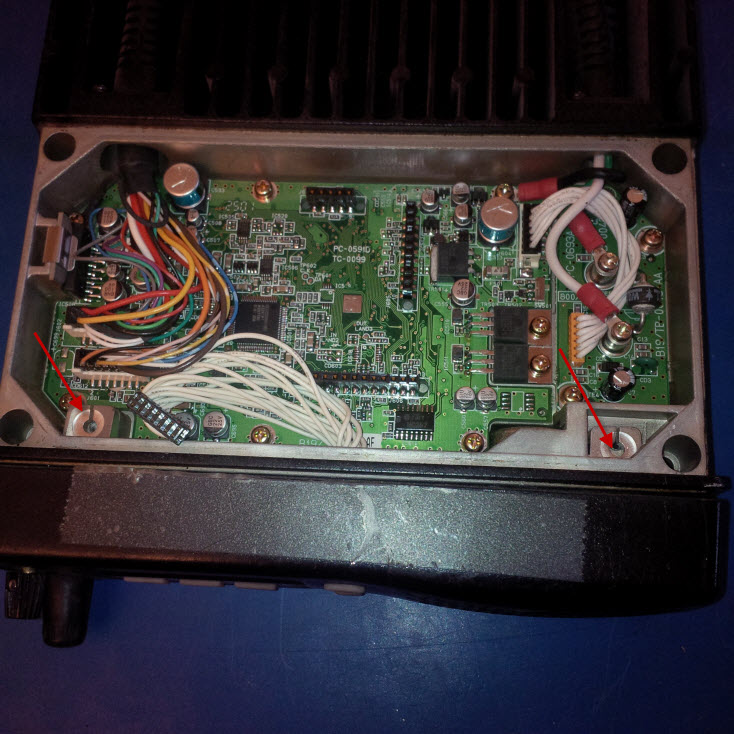
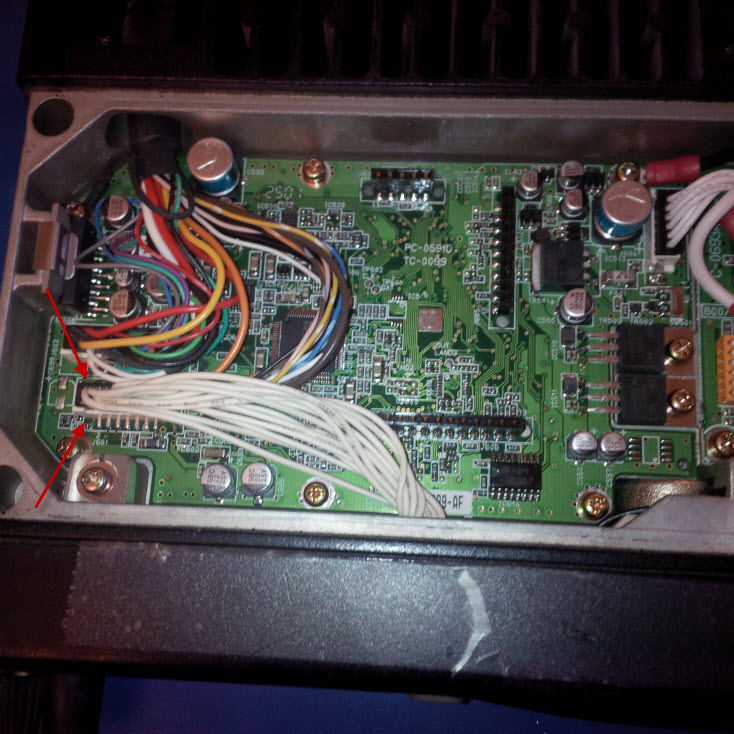
11. Disconnect the bundle of wires from the external cable closest to
the front. Connect the bundle of wires from the radio head to
this connector. The connector is keyed, and should only go on
1 way.
12. Replace the metal RF shield.
13. Place the cover on the top of the radio. Turn the radio
over.
14. Install the 2 phillip head screws to hold the head on.
15. Replace the bottom onto the radio. Install the 6 torx
screws. The 2 short screws goes towards the rear of the radio.
16.
You should have the following parts left over:
- 4 stand-offs
- 1 blank cover
- 1 remote mount head kit/cover
© 2015